Key Takeaways
- Solar eclipse photography requires proper filters and glasses to prevent damage to cameras and eyes.
- Tips include using mirrorless cameras or DSLRs, and practicing to set up the perfect shot.
- Exposure settings are crucial for taking close-up shots of the eclipse using manual focus and correct exposure settings.
Photographing a solar eclipse is not like snapping a sunset. During an eclipse, the intensity of the sun is strong enough to damage a camera sensor — and, worse, your eyeballs.
There are a few reasons why it’s unsafe to photograph an eclipse. The first is that the sun isn’t as bright on the horizon during a sunset. The second is that the telephoto lenses photographers often use to capture eclipses concentrate the sun’s intensity onto one small point. The third factor is that photographing an eclipse often means aiming the camera at the sun for an extended period of time.
A dedicated camera with a long telephoto lens is a must if you want to photograph a close-up that shows off the sun’s fiery corona during totality.
Beware of fakes: 9 solar eclipse glasses with ISO-certification
Viewing the eclipse with counterfeit solar eclipse glasses could cause eye damage. Try these safe ISO-certified, AAS-approved eclipse glasses instead.
However, with the proper filters and glasses, it’s possible to snap great photos of an eclipse without damaging your camera or vision. Like with many types of photography, a mirrorless or DSLR camera is the most versatile tool for capturing an eclipse. A dedicated camera with a long telephoto lens is a must if you want to photograph a close-up that shows off the sun’s fiery corona during totality.
It’s possible to photograph an eclipse with a phone too. You won’t get those ultra-closeups, but modern smartphones can be a great tool for snapping wider shots that show off some of the surrounding landscape.
Ahead of the April 8 event, here’s what you need — and what you need to know — to safely photograph the solar eclipse with a phone or dedicated camera.
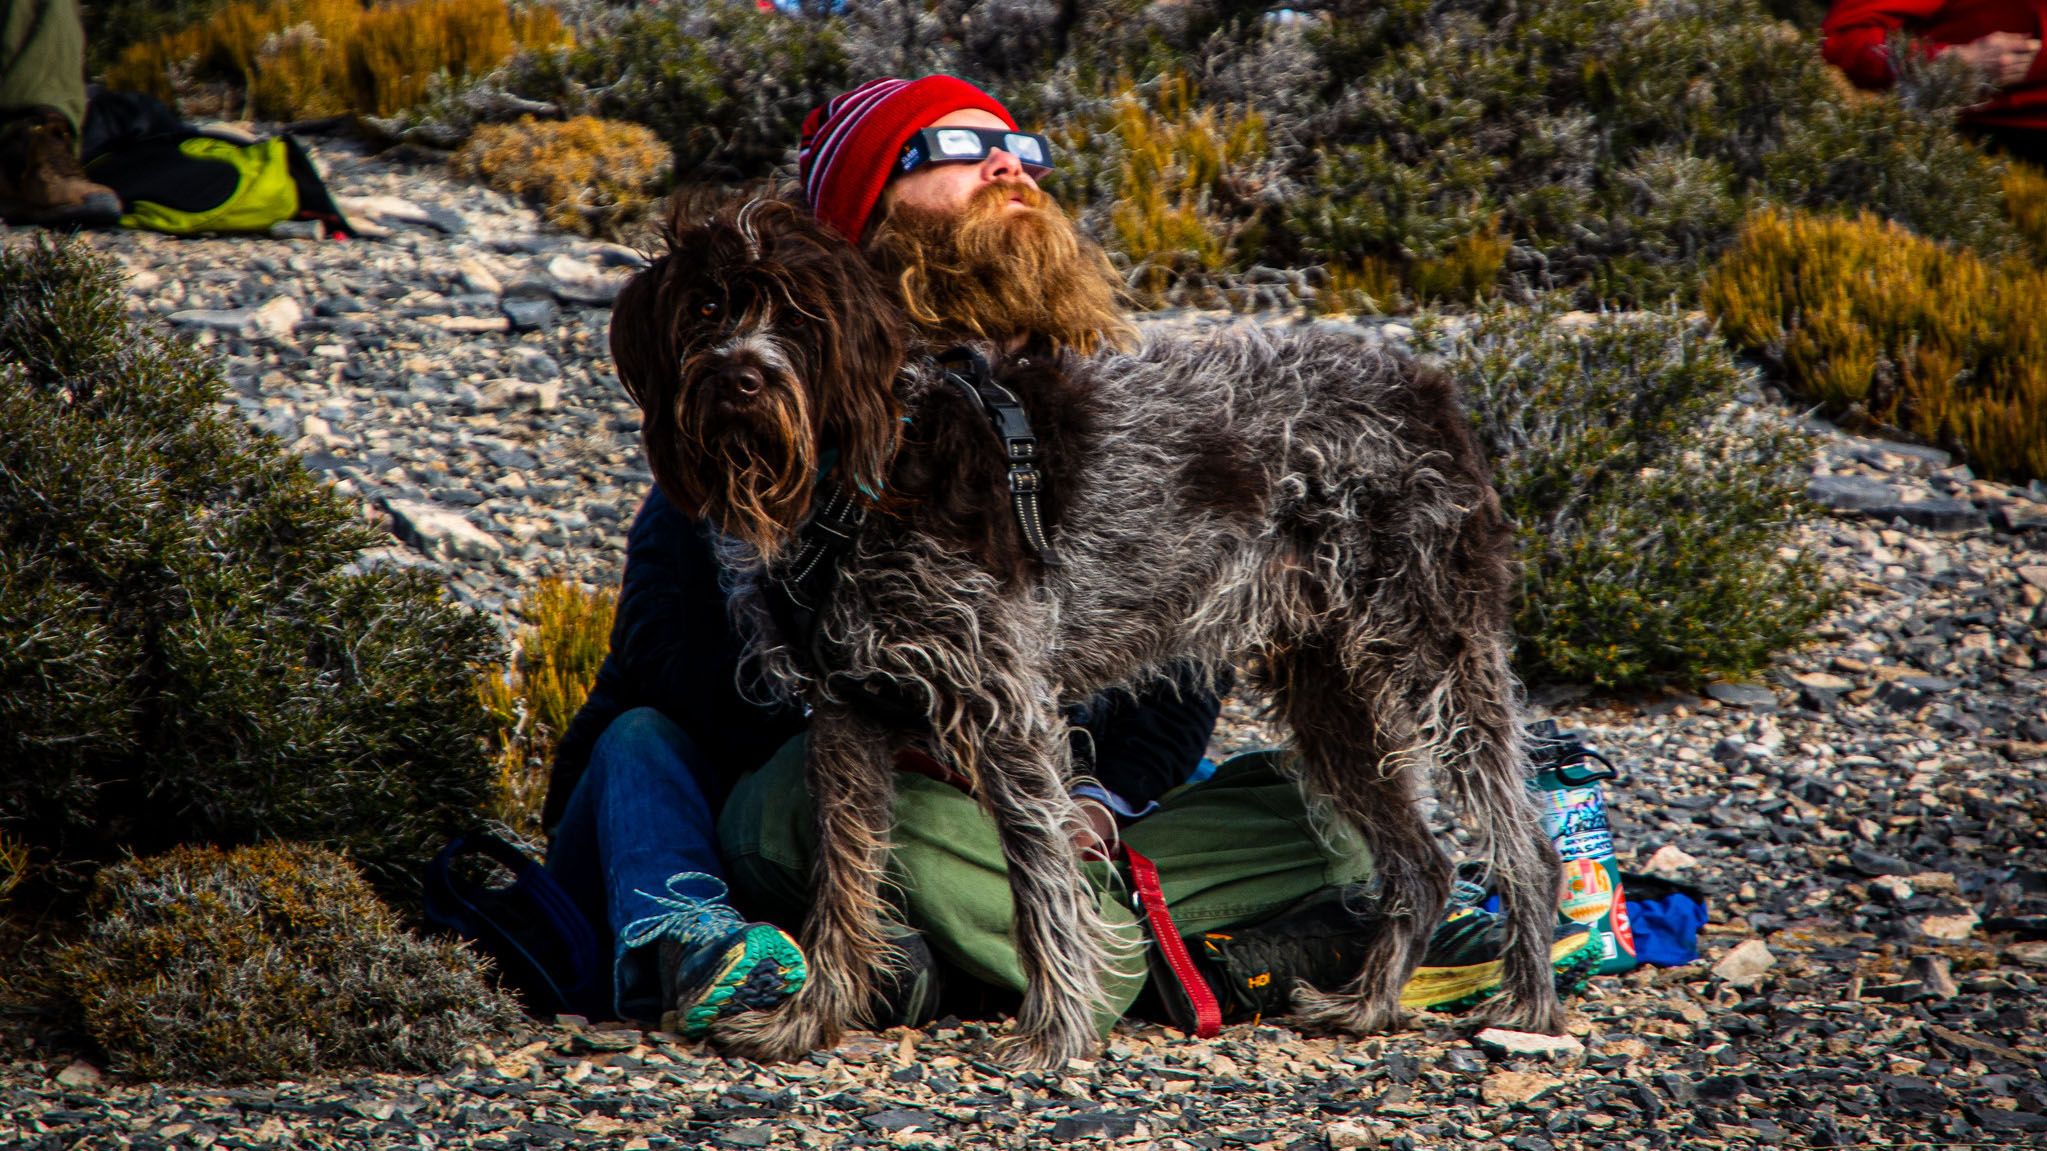
Bureau of Land Management / Flickr
What you’ll need for safe eclipse photography
With all the excitement surrounding the upcoming solar eclipse, it’s easy to forget just how dangerous the sun can be to our eyes. Viewing or photographing an eclipse without proper protection could damage your eyesight and camera.
Proper eye protection
You’ll undoubtedly be gazing up at the sky yourself as you plan out your shot and watch the moon gradually move in front of the sun. Pick up a pair of solar glasses that are ISO-rated. You can avoid counterfeits by selecting a model from a reputable company and buying only from reputable dealers, like the ones on this list.
Camera protection
Unlike your eyes, you can replace your camera if it’s damaged by the sun — but, let’s be honest, most of us want to avoid wasting money. You’ll need a dedicated solar filter for your smartphone or camera.
These filters fall into two categories: cheap but effective disposable solar filters, and high-end solar eclipse filters. Any filter that is ISO-certified should be safe, but a high-end filter will produce different results than a disposable one.
“Non-silvered glass and metalized Mylar produce a blueish-white sun disk while professional silver/black polymer solar film produces a yellow sun disk,” explains photographer Keith Ladzinski, whose advice Pocket-lint has reproduced here with permission from Canon.
In addition to regular features in National Geographic, Ladzinski is a Canon Explorer of Light and has photographed many a solar eclipse in the past.
A camera
While a DSLR or mirrorless camera is ideal, it’s possible to photograph an eclipse with a smartphone.
A lens (If you are using a DSLR or mirrorless)
There are two basic approaches to capturing an eclipse — photographing a wide angle shot that shows off the landscape as well as the sun or using a telephoto to get a close-up. If you want a close-up, you’ll need a long lens. Ladzinski recommends a 400mm focal length.
A tripod (optional)
Photographing the eclipse doesn’t require the slow shutter speeds of astrophotography, but if you own a tripod, you’ll probably want to bring it. While totality only lasts a few minutes, the moon will take a few hours to make its way across the sun. Hand-holding your camera that long can be tiring. A tripod is also a must if you want to take a video or Photoshop several photos together to illustrate the different phases of the eclipse.
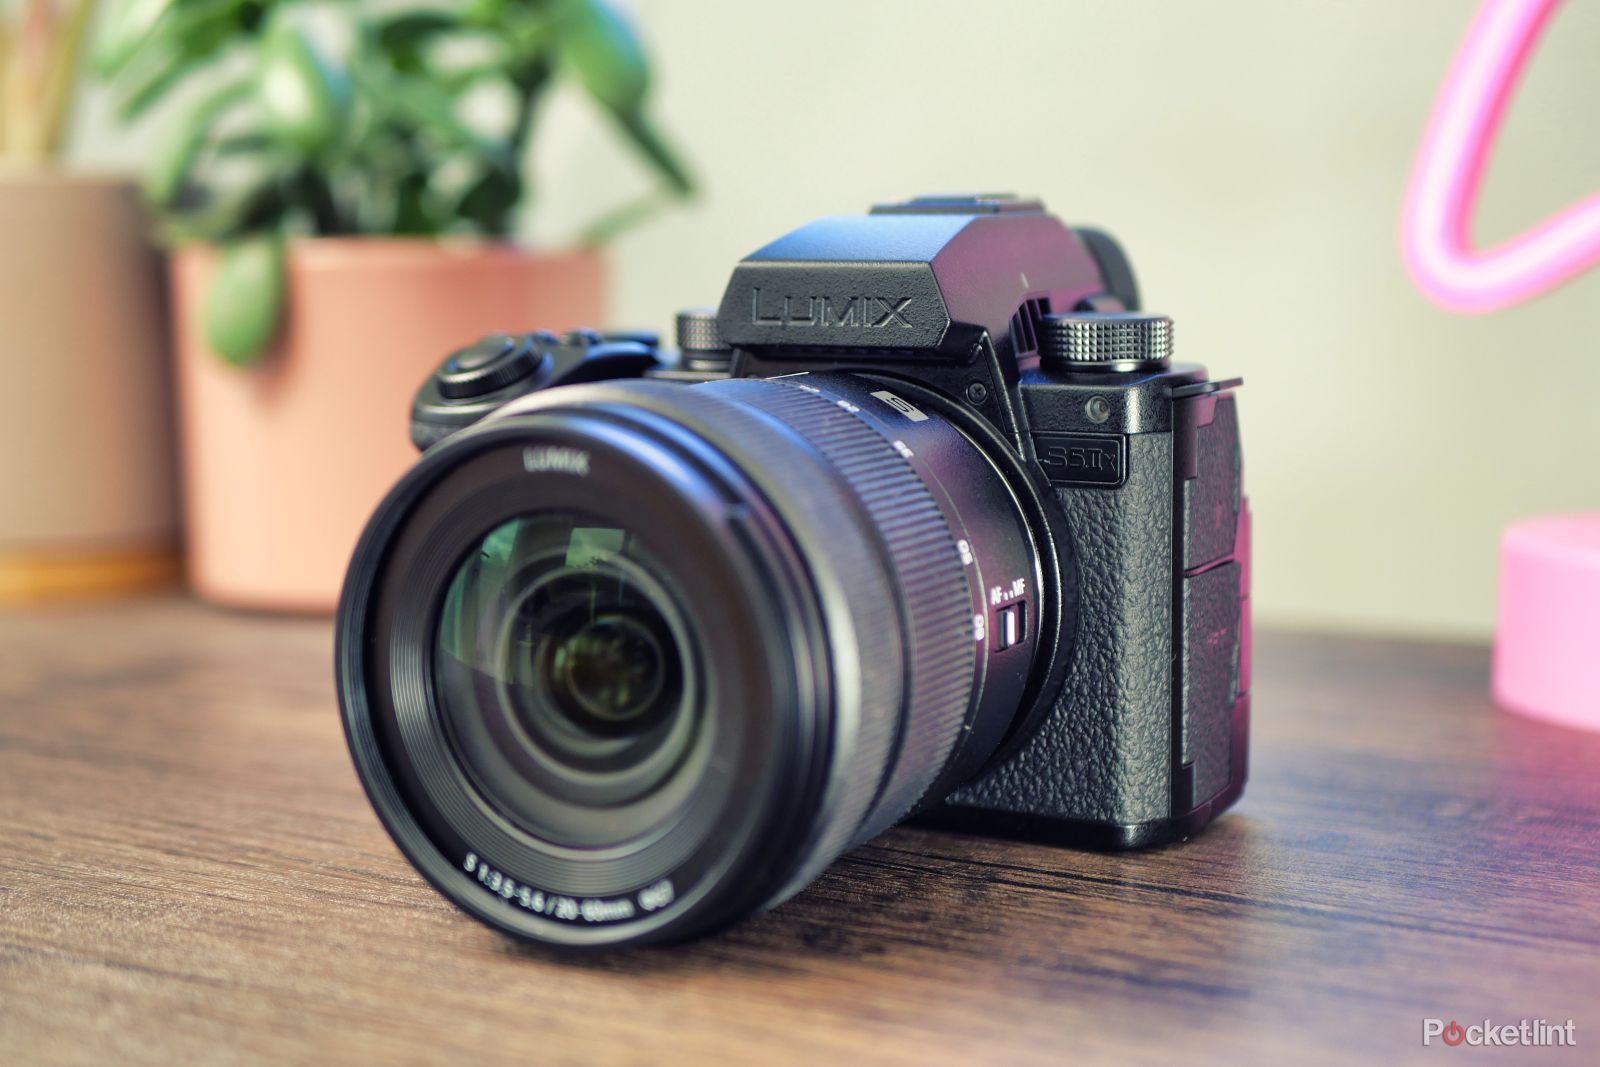
Best photography gear: 6 items essential for every shoot
Professionalize your kit with a nifty fifty lens, light reflector, and more to keep your shoot (and budget) in check.
Keith Ladzinski
How to photograph the solar eclipse
1. Understand solar eclipse safety and set expectations
Watching or photographing the sun without proper protection can be disastrous. In fact, watching an eclipse through an unprotected telephoto lens can be even more dangerous than watching one with your naked eye. You’ll need solar glasses for when you view the eclipse and plan your shot. You’ll also need solar eclipse protection for your camera or smartphone listed above.
If you own a DSLR, don’t
use the viewfinder to photograph the eclipse
.
Always preview the photograph using a screen, not an optical viewfinder. To do this on a DSLR, hit the Live View button and compose the shot on the LCD screen. The screen-based viewfinder on a mirrorless camera is safe and so is a smartphone screen.
The only time you can view or photograph an eclipse without a certified filter is during totality, when the sun is completely blocked. This only applies if you are in the path of totality and only during the few minutes that the sun is completely covered.
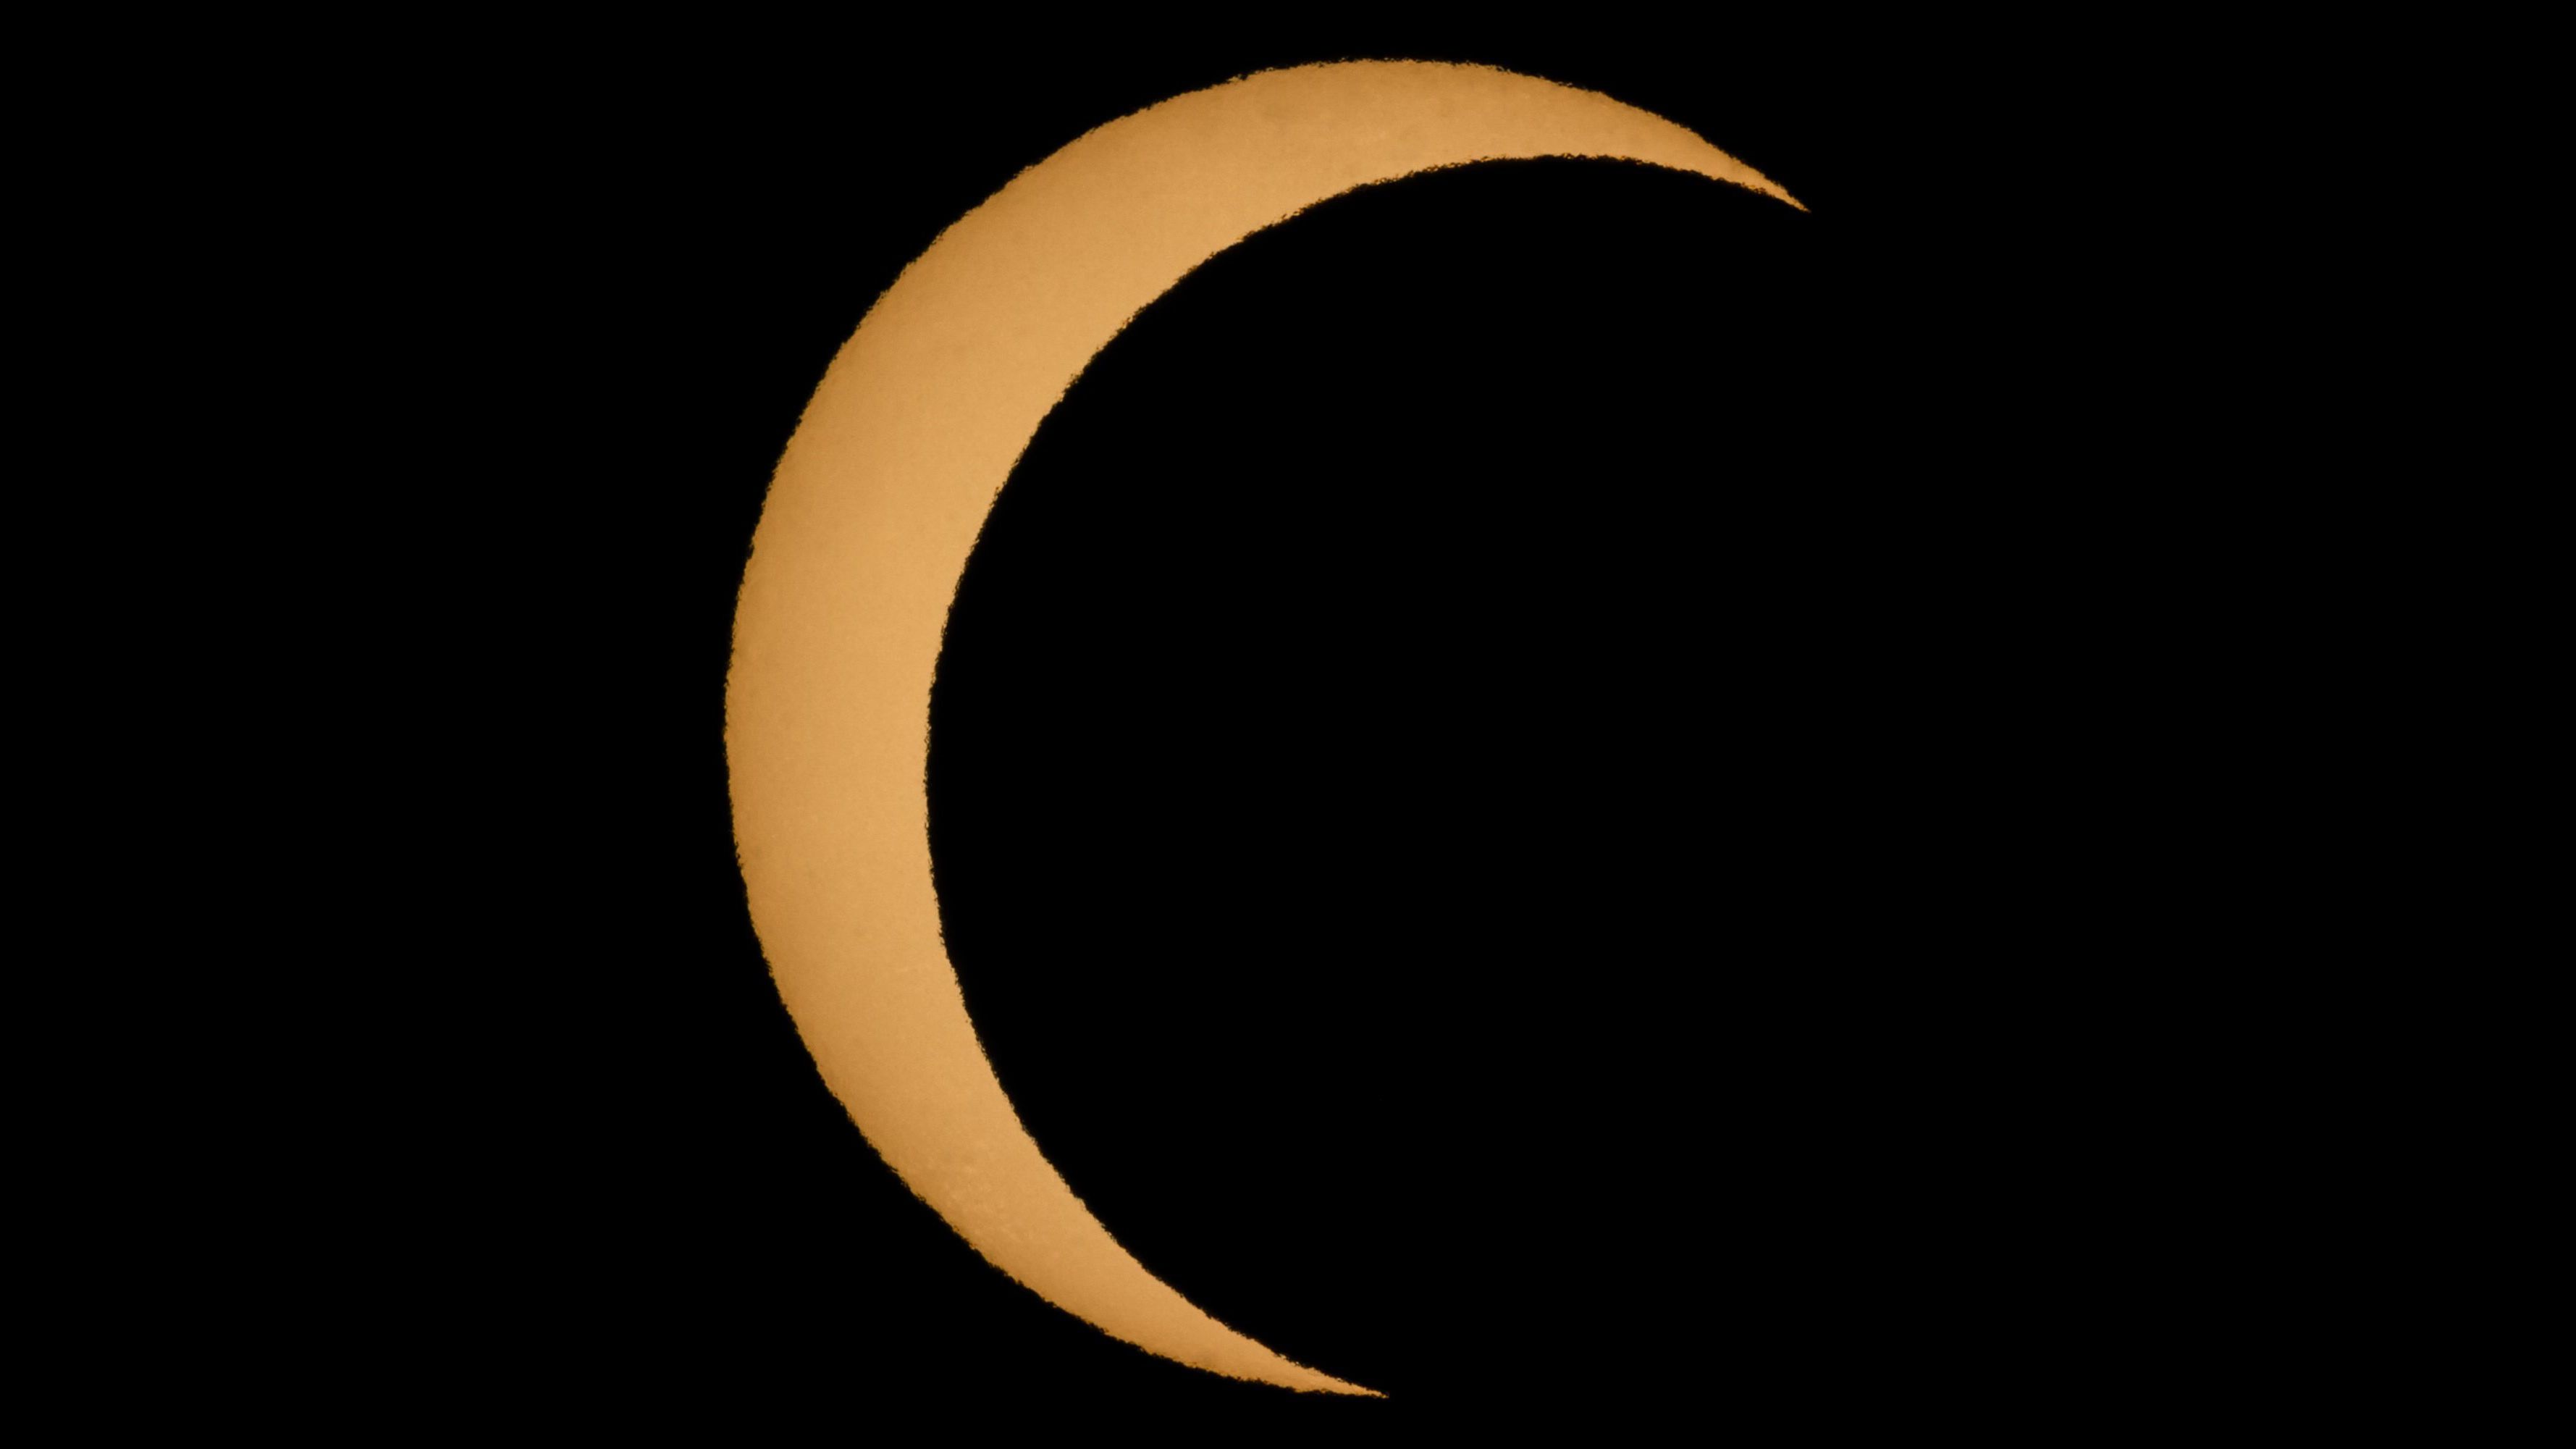
“As the moon progressively covers more of the sun, there will be a point where only a small piece of the bright sun remains visible, and surrounding the moon is a bright ring of light from the sun,” Landzinski explains.
“This is sometimes called the ‘diamond ring effect.’ If you want to successfully photograph this conclusion of the partial phase, leading up to eclipse totality, you’ll need to remove your solar filter and then photograph it. But be extremely careful, without a solar filter in place, the direct sunlight — even from just a small segment of the sun — can be damaging.”
The second part of the equation is properly setting expectations. A partial eclipse lasts for hours, but totality only lasts for a few minutes — and that’s only if you are in the path of totality. Read up on the eclipse and see where you fall in its path to know what to expect. Another key point: you won’t be able to photograph the eclipse if the sky is overcast.
NASA / Flickr
2. Practice photographing the sun or moon before the actual eclipse to plan your shot
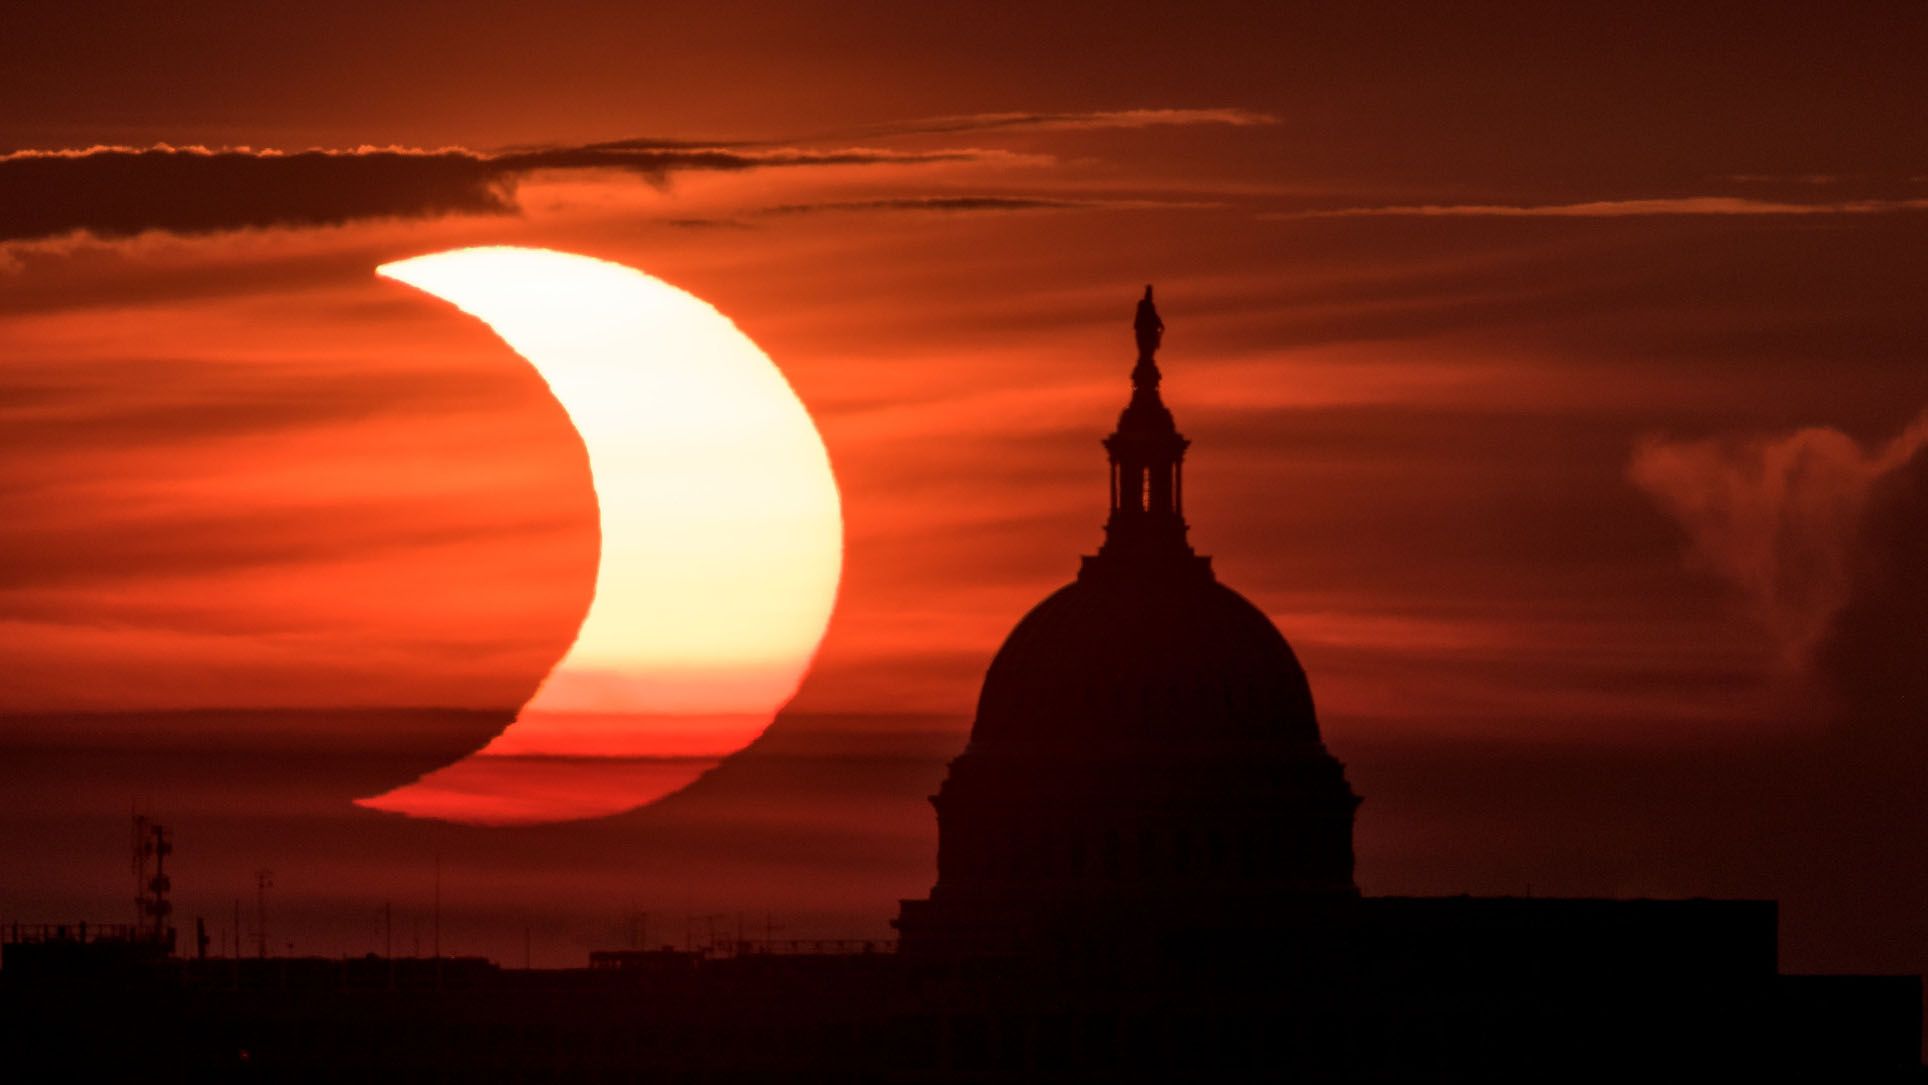
Totality for the April 8 eclipse will only last a few minutes. That won’t be the time to learn how to use your camera. Calculate when the eclipse will happen in your area, then head outside at the same time on a sunny day. Where is the sun in the sky? Can you include some of the surroundings to add some interest, or is the sun too high in the sky?
Then, using your solar filter, practice photographing the sun before the actual eclipse day. This will help you better understand what settings to use, as well as help you plan. As you photograph the sun, consider whether you want to use a telephoto lens or try to go for a wide shot. Think about how to incorporate the location into the shot. Figure out where to stand for the best angle on the sun. Experiment with different exposure settings, so you’re ready to go on eclipse day.
Using a smartphone? Don’t forget to turn the flash off. It won’t help in this scenario and the eclipse could make it dark enough for the auto flash to fire. Another thing to avoid when using a smartphone is using digital zoom. Don’t pinch to zoom, or you will quickly lose resolution and detail. If you have a smartphone with multiple lenses, this type of zoom is great.
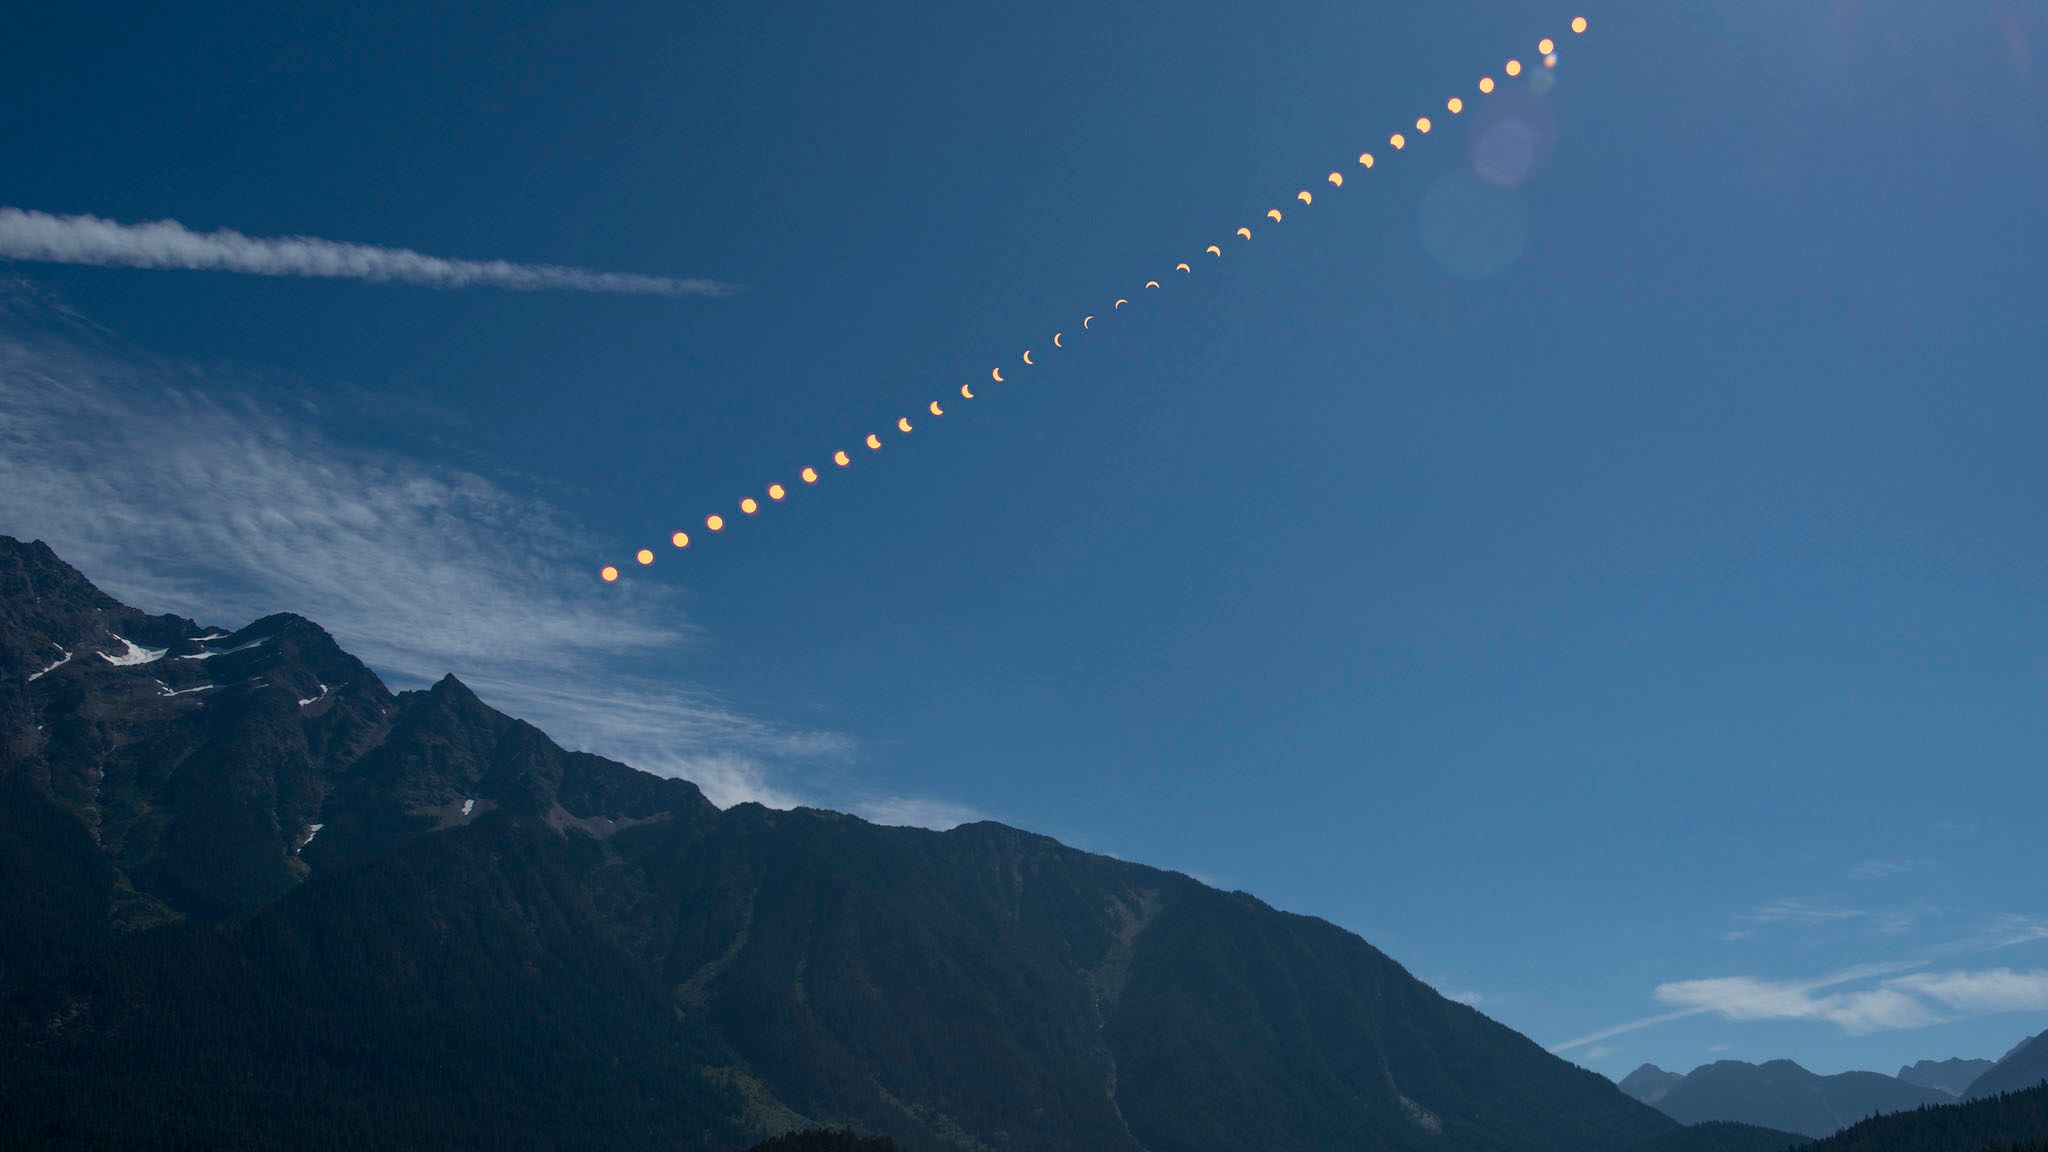
Another factor to consider is composite photography, a popular effect for eclipse photography that displays the procession of the moon across the sun by merging multiple images together. If you want to attempt this, be sure to bring a tripod to take a series of images.
NASA / Flickr
3. Set your exposure correctly for the eclipse
On a close-up shot of an eclipse, the sky should be black in order to prevent overexposing the sun. If you are using a mirrorless or DSLR, the best option is to use manual exposure to keep detail in the corona intact. A beginner-friendly option is to use auto or programmed auto and use exposure compensation to darken the image.
Your exact settings will vary based on your gear and whether there are any clouds. In general, because the sun is so bright, you’ll want a narrower aperture like f/8 to cut back on the light and leave the detail intact. However, if you find your ideal settings by practicing before the actual eclipse, you’ll know exactly what settings to start with.
Mirrorless photographers:
Highlight warnings
are a great tool to turn on for photographing the eclipse. If the sun is blinking, you need to lower your exposure. Another good tool is to turn on
exposure bracketing
, which captures a range of images at different exposures.
If you are photographing the eclipse on a smartphone, tap on the sun to focus. A little sun icon will show up next to the focus box. Tap on that icon and drag your finger down to lower the exposure. The sky should be black in order to see any details of the sun.
4. Use manual focus system settings
An eclipse can often fool a camera’s autofocus system, so be prepared to use manual focus. (If you use a smartphone, the step above where you tap on the eclipse on the screen both adjusts the exposure and the focus point, so skip ahead to the next section).
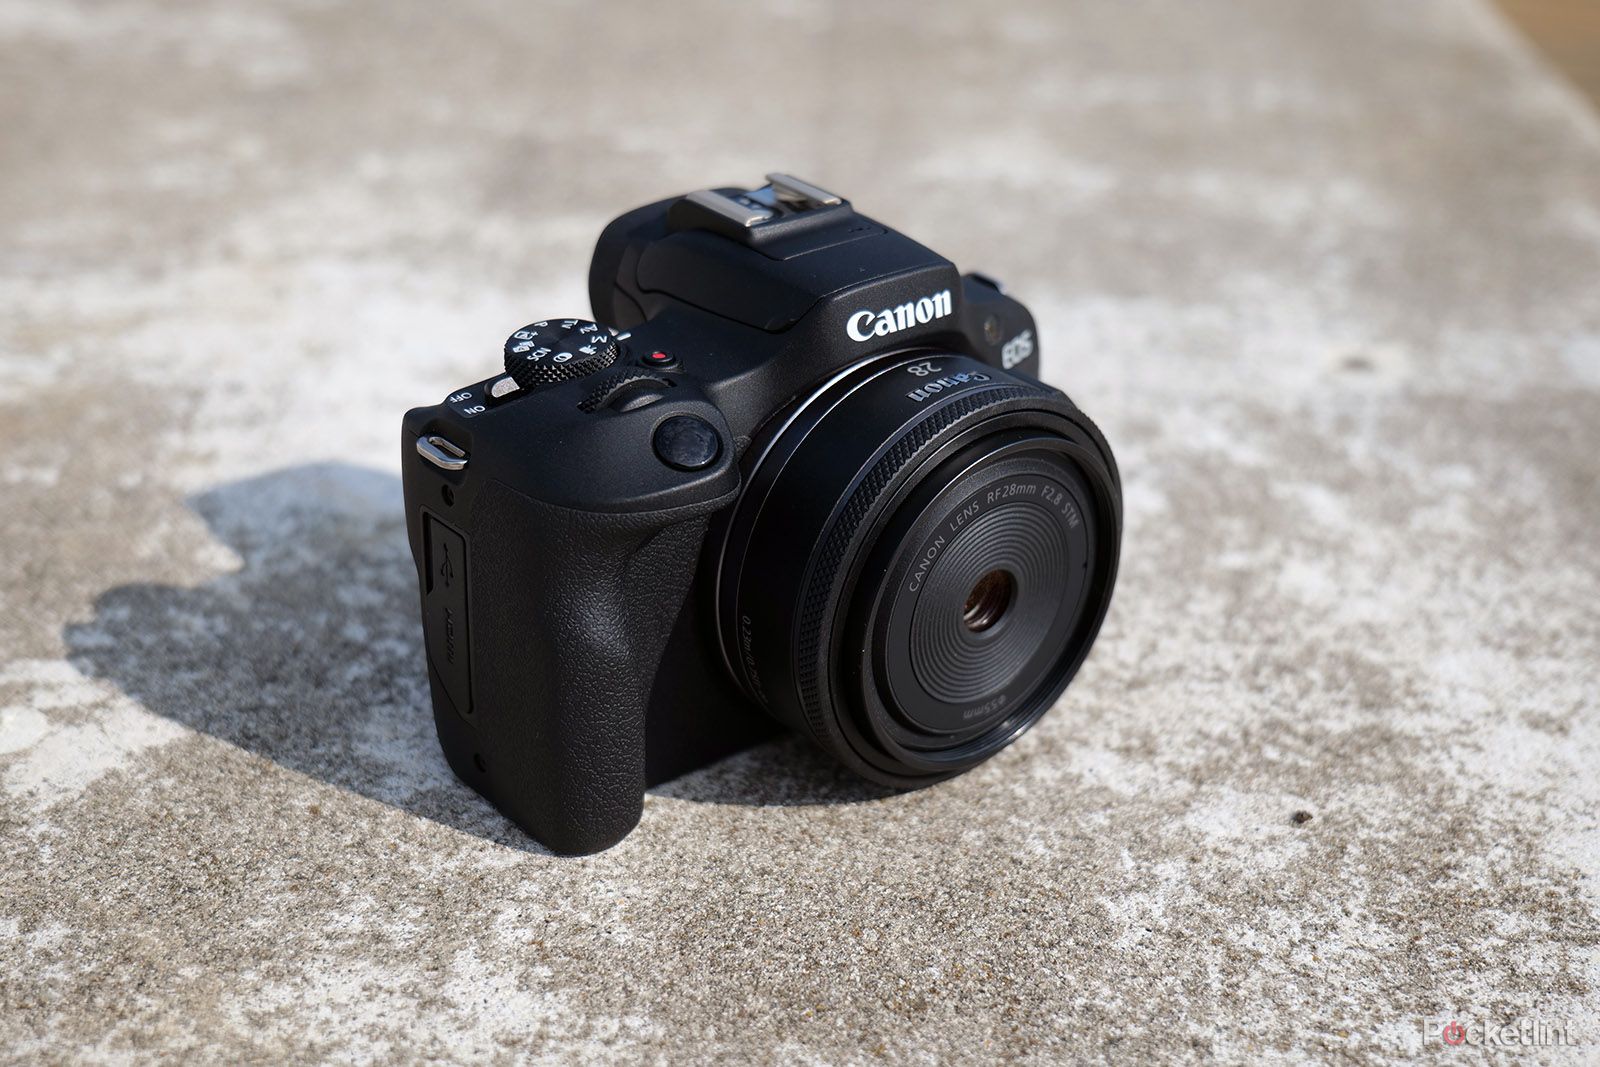
Best cameras for beginners: Photographer tested and reviewed
New to photography? The best beginner cameras can capture gorgeous photos and videos without costing a fortune.
Using your solar filter, focus on the sun before the eclipse begins by placing your focus point on the edge of the sun. If your camera successfully locks focus, turn the lens to manual focus to lock focus. If your camera hunts for focus, you’ll need to use manual focus instead. Switch to manual focus, then turn your focus ring to infinity. Then, use focus peaking or snap a photo and check the focus to ensure sharpness and adjust until the sun is sharp.
5. Taking the shot of the eclipse
With the exposure and focus set, you’re ready to photograph the eclipse, but be ready to adapt. If you’re in the path of totality, you’ll need to temporarily remove your solar filter while the sun is completely covered.
Totality during this eclipse will vary but will average, on the centerline, about two-and-a-half minutes. At the end of totality, Baily’s beads begin to reappear, leading to the diamond ring effect.
According to Landzinski, during totality, you can remove the filter after the ‘diamond ring effect’ and return it once the diamond ring appears again.
“About 15 seconds before totality,” he said, “you can remove the solar filter to photograph the remaining diamond ring effect, and about five seconds before totality, there are still a few tiny rays of sunlight peeking between the valleys of the craters on the moon. This creates what has been named Baily’s beads, after English astronomer Francis Baily.
Once the moon completely covers the sun, after Baily’s beads, totality has begun and you are photographing the corona. Totality during this eclipse will vary but will average, on the centerline, about two-and-a-half minutes. At the end of totality, Baily’s beads begin to reappear, leading to the diamond ring effect.
Once the light of the diamond ring effect becomes very bright, replace your solar filter onto the front of your lens. From this moment through all the concluding partial phases, the solar filter needs to remain on the front of your lens.”
6. Edit your photos after totality
Finally, following the eclipse, edit your shots, if needed. You may need to play with the exposure to preserve details in the sun. White balance will help keep the sun orange while also helping to compensate for any color casts created by the solar filter.
If you shoot multiple images of the eclipse process, you can merge multiple suns together in a composite using Photoshop or a similar photo editor.
When photographing an eclipse, put safety first.
An eclipse can be a great photography opportunity, but only if you prepare ahead of time and have the proper equipment. Grab your solar filter and ISO-rated eclipse glasses. For the best results, practice ahead of time while still using the solar filter to get a better grasp on where to stand and what camera settings to dial in.
Trending Products

Cooler Master MasterBox Q300L Micro-ATX Tower with Magnetic Design Dust Filter, Transparent Acrylic Side Panel…

ASUS TUF Gaming GT301 ZAKU II Edition ATX mid-Tower Compact case with Tempered Glass Side Panel, Honeycomb Front Panel…

ASUS TUF Gaming GT501 Mid-Tower Computer Case for up to EATX Motherboards with USB 3.0 Front Panel Cases GT501/GRY/WITH…

be quiet! Pure Base 500DX Black, Mid Tower ATX case, ARGB, 3 pre-installed Pure Wings 2, BGW37, tempered glass window

ASUS ROG Strix Helios GX601 White Edition RGB Mid-Tower Computer Case for ATX/EATX Motherboards with tempered glass…


